Installation
RetroLinux installs from the live ISO. Boot it, and the installer runs automatically — no manual partition tables, no hand-edited configs, no archinstall knowledge required. You answer a series of guided questions, review your choices, and the installer builds the whole system for you.
This guide splits the installer into topic pages — one for each group of related questions — so each one can go deep without overwhelming you. It is written for complete beginners: if you have never installed Arch Linux (or any Linux) before, you are in the right place.
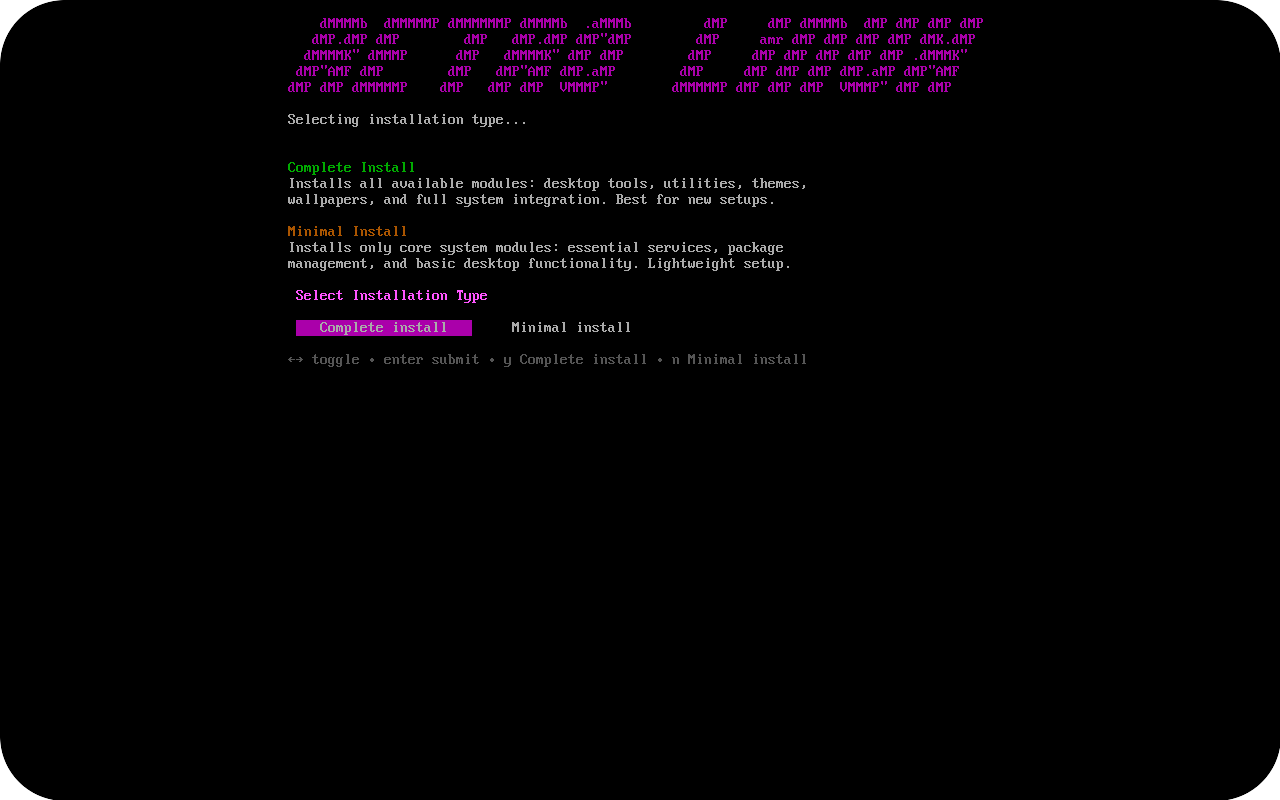
Installing RetroLinux is split into three stages. Understanding this up front makes everything below easier to follow.
| Stage | When it runs | What it does |
|---|---|---|
| 1 · Live ISO setup | While booted into the USB |
retroinstall walks through 25 steps (some asking several questions), then runs archinstall to build the base system |
| 2 · Chroot post-install | Right after archinstall finishes |
Runs inside the freshly-installed system: repo deploy, packages, network, AUR helper |
| 3 · First boot | Your very first login | Applies modules, drivers, wallpaper, theme, GRUB, Timeshift and reboots |
| Page | Installer steps |
|---|---|
| Installation Basics | Install type · release branch · ricing mode |
| User Accounts | User account · root password · hostname |
| Localization | Keyboard layout · language · timezone |
| Display | Aspect ratio · resolution |
| Storage & Encryption | Disk selection · LUKS encryption |
| Kernel & Bootloader | Kernel · GRUB theme, resolution, OS prober, snapshots, timeout |
| Mirror Regions | Mirror regions · custom mirror |
| Services | Bluetooth · fingerprint · printing · SSH |
| Software Choices | AUR helper · editor · file manager · browser |
| Network Setup | Network type · WiFi · Ethernet |
| Config & After | Writing the config · review · archinstall · chroot · first boot |
Before you start, make sure you have:
- The RetroLinux ISO (download from the Releases page)
- A USB drive (4 GB or larger) to flash it to
- A computer with a 64-bit x86_64 CPU and an NVIDIA, AMD, or Intel GPU
- Internet access (Ethernet recommended, Wi-Fi is supported)
- A backup of anything important on the target disk — the installer erases it
Warning
The installer wipes the disk you select and sets up BTRFS with encryption. There is no undo. Back everything up before you begin.
Flash the ISO to your USB drive, then boot from it. Any of these work:
-
dd—dd if=retrolinux.iso of=/dev/sdX bs=4M status=progress oflag=sync(make sure/dev/sdXis your USB drive!) - balenaEtcher — the graphical, cross-platform writer
- Rufus — the classic Windows writer
- Ventoy — drop the ISO onto a Ventoy stick and boot it; RetroLinux supports Ventoy, so you can keep multiple ISOs on one drive and pick this one from the Ventoy menu
retroinstall starts automatically when you boot. If you ever exit it (for example with Ctrl+C), just run retroinstall again — your answers so far are saved, and it resumes exactly where you left off.
You can also run it in debug mode, which pauses after every step and shows you what is happening behind the scenes:
retroinstall --debugOr preview the generated install configs without installing anything:
retroinstall dryState is saved to /tmp/retroinstall_state after every step, so the installer is resilient to interruptions.
- The installer stopped with an error — a QR code appears for reporting; the last log lines are shown. You can retry from the error screen.
-
You interrupted the installer — just run
retroinstallagain; your answers are saved in/tmp/retroinstall_state. -
First boot looks stuck — the post-install can take a few minutes; the log is written to
/var/log/retrolinux-setup.log(or~/.retrolinux-setup.log). -
You want to start the install from scratch — remove the saved state:
rm /tmp/retroinstall_state.
For more background on the underlying technology, the Arch Wiki installation guide, BTRFS, and GRUB pages are excellent references.


© 2026 itsvlxd & Contributors • GPL-3.0 License | 🤝 Contributing • 🐛 Issues • 🔧 Pulls
Licensed under the GNU General Public License v3.0. You are free to share, modify, and redistribute this documentation under the same copyleft terms, provided completely without warranty of any kind.